21 October 2012

Baklava with ultra-thin handmade phyllo

In this very long post you will see the very amazing feat of making ultra-thin phyllo from scratch. 

It all starts with dough. Here is the recipe.

4 egg yolks
2 whole eggs
1 ¼ demi-tasse cups sunflower seed oil   (a demi-tasse holds about 75 ml)
1 ¼ demi-tasse cups milk
1 tsp spoon baking powder
+ little more oil

Add Weizenmehl 405 (most similar to cake flour) until you make a ball of dough. It should be just a bit sticky to the touch. It should not cling to your fingers.


In the video below the dough is found to be a bit too sticky and so more flour is added.

In the video below Lude kneads the dough with a spoon, but you could also use your hands.

Lude forms the dough into small balls. Each weighed 16-17. She made a total of 50 balls.

In the video below you see how she cuts off lumps of dough that are about the right size for each ball.

Here you see how Lude takes each small lump of dough and turns it into a perfect little ball. Sometimes she takes a bit of dough away if she senses the lump is a bit too big.

Look at all these pretty little balls of future phyllo!

Lude places them on a floured tray.


 Then she covers the top of tray with a plastic bag and puts the whole tray into another bag.

She places the tray into an oven that has been pre-warmed. To do this, bring the temperature to 50C, then shut off the oven. Let the balls rest in this pre-warmed oven for 30 min.
Or alternatively, keep the tray at room temperature for 2 hours. 


Now it's time to make the filling.
Here we crush our nuts with a mortar and pestle. We ground about 300g of walnuts. Lude doesn't use any spices, just walnuts.


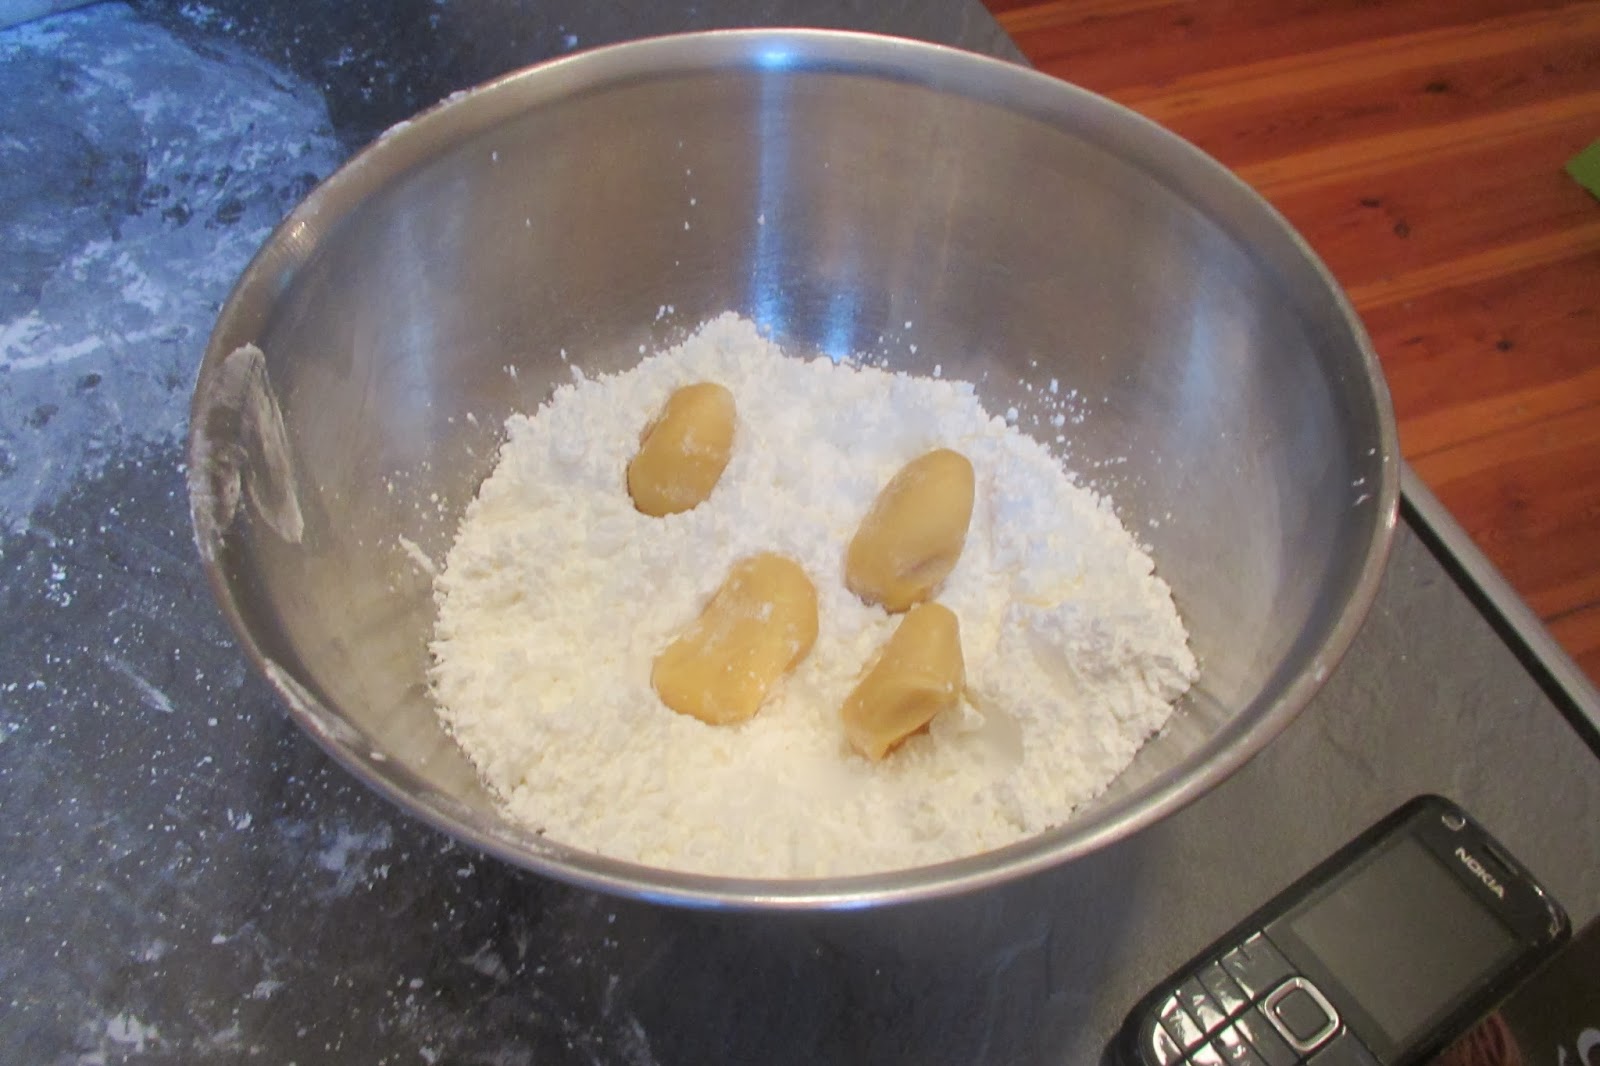
We filled another large bowl with cornstarch.

Put four balls into the bowl with cornstarch and make sure they are well dusted.

Here Lude and her daughter team up to make stacks of phyllo.  They roll out four balls for each stack. 
The last stacks have only three layers.


Sorry, no photos of a stack!

Each stack gets rolled out even larger.


Now Lude places some ground walnuts onto her circle of dough, folds in the edges, and rolls it up.

Here you can watch her daughter do the same.
 

Each roll gets placed side-by-side into the pan.

She cuts the baklava rolls into individual pieces.

She cuts them completely through to the bottom.

In the meantime she has clarified the butter. To do this she took 500g of butter and melted it. She only uses the fat that rises to the top.


Here Lude spoons the clarified butter all over the inside of the yet-to-be baked pan.
 

Place the pan in the oven on the highest setting.
When the top starts to brown lower the temp to 150C and bake for 90 min.


Here an individual piece is taken out of the pan.

Look at it!!! What amazing handmade baklava phyllo!

Look again!

Now we have to make the syrup that goes on top. For the syrup mix
1 liter of water
800 g sugar
juice from less than ½ lemon
(Greeks would also add a stick of cinnamon here)

Boil on high heat for 20 min.
Cool 15 min.
Pour evenly over the pan of cooled baklava.

Refrigerate after 3 days. 

Here is a piece of baklava that has had the syrup applied.

These are sooo tasty but they get even tastier after they have sat in the refrigerator for a while!!

Here are what the end pieces look like.

Lude makes baklava for her family a few times a year for special occasions. If you have questions feel free to ask!
Note, this post is going up in October 2013 but these photos and videos are all from October 2012.  

11 May 2012

one thick on the bottom, many thin on the top method for a spinach pita

In this post we see another method Lude uses for making pita. For lack of a better name, I will call this the "one thick on the bottom, many thin on the top" method.

Here is the end product. This homemade phyllo was used for a spinach pita.

See the previous post on the review of dough making to see how Lude makes her phyllo dough from scratch.

Lude begins by rolling out the small balls somewhat.

The small discs of dough are simply stacked in the beginning (see the stack below, right). The flattened-out larger (medium-sized) ball has been rolled out somewhat too (at left).

Now she stretches out each disc of dough, oils it, and reassembles the stack. (There is a tiny bit of olive oil on the unoiled stack because we have rested the spoon there.)

How smart and convenient to rest the oily spoon on a circle of dough.


The oiled stack is almost finished. 

Now the new larger circle is rolled thinner to fit the bottom of the pan (not shown). Afterwards it is folded so it can be more easily brought over to the pan and reopened.

Below Lude stretches the dough to run up the sides of the pan.


You can fill the pita with whatever you like. Lude's recipe for a Kosovar-Albanian style filling is in this previous post.

Below Lude places the sheet of phyllo she has rolled out from the 10-disc stack on top of the pita.


Below she joins the top and bottom layers of dough just as you would for American-style pie.


Before the pita goes in the oven it is spread with a 1:1:1 mix of sunflower seed oil, water and Schmand (you can substitute sour cream or heavy cream, or just leave it out)

The pita comes out of the oven.  The top may cook faster than the bottom. The bottom should also be a light brown color. If it isn't reduce the heat on top and keep cooking it.

The layers of phyllo on top are well-separated and flaky.

And that's the "one thick on bottom, many thin on top" way of rolling out homemade phyllo!

How to prepare homemade phyllo dough, a review with more details

I don't think it can hurt to show you the basics of dough making again, with a little more detail. The actual recipe can be found in this previous post.


Lude kneads the dough with a spoon. In the two videos that immediately follow you can watch how she does this. Of course doing it by hand works as well.


The dough before it gets divided.

Below watch how Lude divides up the dough and rolls each lump into a beautiful ball.
Here she is preparing to make two styles of pita. One is the coiled style pita that requires two large balls of dough. The other is the "one thick on bottom, many thin on top" method which requires one medium-sized ball and ten small balls.
 

Because she wants ten small lumps of dough...

but doesn't leave only has enough dough to make eight, she takes some dough from the medium-sized ball. No problem!

Below is another chance to see how she takes lumps and forms them into balls.


All the balls are put into plastic bags to rest for 30 min or so.

Now is the time to prepare the filling. Here she cleans and slices the spinach.


And adds finely chopped green onion.

To make the coiled-style pita Lude begins by rolling out one of the two large balls dough. 

The video below is one of the most important things in this blog. Below Lude artfully uses the slim rolling pin to roll out the dough. She rolls the dough around the rolling pin, gently rocks it, and unrolls it. She then rotates the dough and repeats.

Oil is placed on the dough. It gets spread around by lifting the dough and folding it over onto itself several times.

Below is a video of how the oil gets spread around.

She pulls the edges of the circle outward to make them thinner.

Next the filling is placed around the edges and the edges of dough are rolled in, while the dough is also being pulled out at the same time. See the post about coiled style pita for how to continue.